
Week 4
Day 1
Our instructor Fransisco went to Kochi and Luciano will be taking classes for us this week . This week we will be planning designing our final project along with our other catch up plans. Luciano gave us a brief about the final project like what it should be, how to design and other related stuff. We have to design a product which we can fabricate inside fablab and should be simple so that we can finish this product in the available time frame. After that Luciano listed out the requirements inside Fab lab and what we are lacking in our lab. We can take any of these issues to do our final project. Luciano asked us to finalize our project idea and present it before everyone by afternoon.I was in great confusion about my project idea. After thinking lot i decided to make a Low Cost Parking Assit using Attiny 44 and a Ultrasonic Sensor.
Design Brief
Problem Statement
A low cost parking assistant which updates the driver how close he / she is from the wall. After crossing a certain limit, the system will trigger an LED Indication / Sound Alarm.
Problem Description
Usually while parking a car or a bike it highly probable to hit a wall and lose our vehicles paint.If there is warning system that can notify the driver that he/she is very close to wall and he/she must stop now this issue can be solved. I am a bad driver in case of parking. I usually hit wall while I am parking car in reverse . This low cost parking assit can help me in avoiding this issue.
Constraints
The Ultrasonic sensor is not available in the invetory. I have to procure that locally. I am planning to design and fabricate casing using acrylic sheet by laser cutting. The box size is 5cm * 5 cm with a height of 4 cm. I need to cut two holes for the ping sensor at the top. The weight wont exceed 100gms.
Fabrication Process : PCB Design -> Milling PCB -> Soldering -> Programming -> Building the case
Cost
The average Cost of production will be less than Rs. 500 including price for the sensor.
After finalizing the design idea and writing project brief Luciano gave us a quick demo of soldering a Fabduino IC. We used to solder pin by pin of IC's which consume more time and makes the soldering process too complex. Luciano taught us to solder using the "gloop and subtract" technique. In this firs wwe fix one leg of the IC and make its orientation correct then we pour solder over all legs so that there will be too much solder in all of the legs of the IC. Now we will use Quickbraid to remove the excess solder. Thus our IC is perfectly soldered to the board.
Day 2 & Day 3
I missed two importants days in Pre fab since i burned my fingers during Diwali. Luciano taught how to use Shopbot (I was waiting for this actually ) and Designing using Rhino these days.Day 4
Today I was focussing on designing my project till after noon and in the after we did moulding. I planned to use fabduino for my project so i started with customising the fabduino for my project. I need three Output pins and two pins for driving the Ping Sensor as per the current plan. It was really hectic for me to do these manual routing using eagle. I added two sockets for soldering sensor input and for taking led output . Also I placed an On board RGB LED. Tommorow I have to mill this PCB.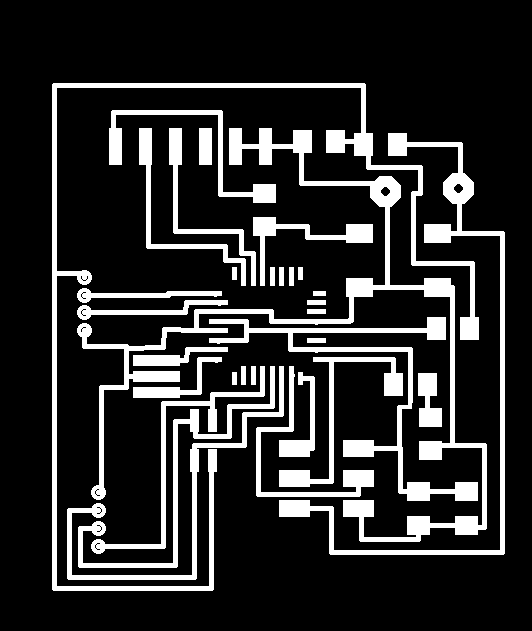
Modified Fabduino
.
By after noon we moved to moulding. We already had our wax cut designs. Before starting the moulding Luciano gave us brief idea about the avialable kind of material in our inventory. We have Liquid Rubber, Liquid Plastic, Heat resistant Mould, Color dye available in our inventory. These have an average shelf life of 6 months only and since our place is toomuch humid it may be even more less.
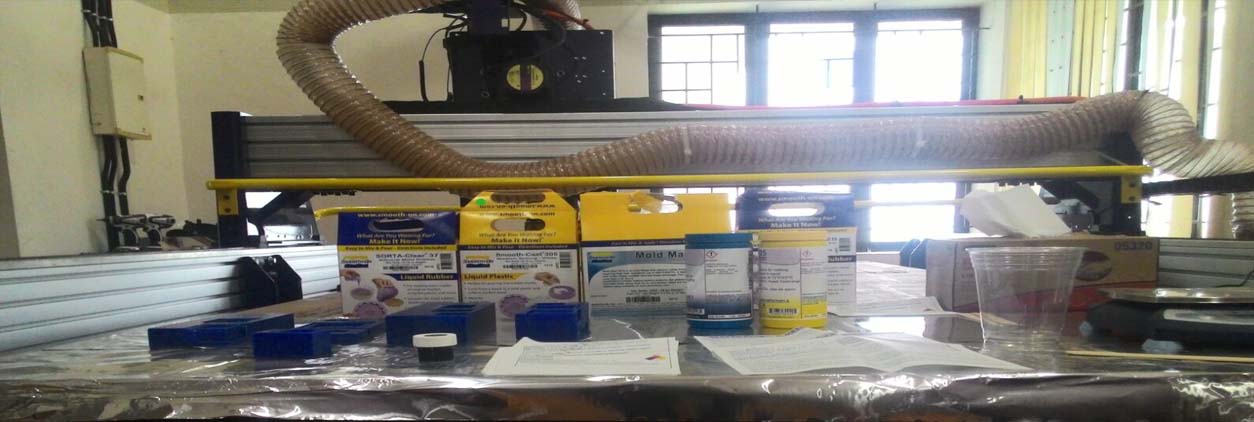
Desk prepared for Moulding
.
Today we used OOMOO 25 for for moulding. There are two different solution in one pack. We need to mix these at specific ratio first before pourig it to the design. These are highly toxic and allergic , so we must use gloves while handling them. Once we mix the both we need to stirr it well till there is uniform color. Once mixed this we have 15 minutess to pour this onto pur wax mould before it starts setting. We poured it to all the available wax mould and allowed it for setting.Thats all for the day.
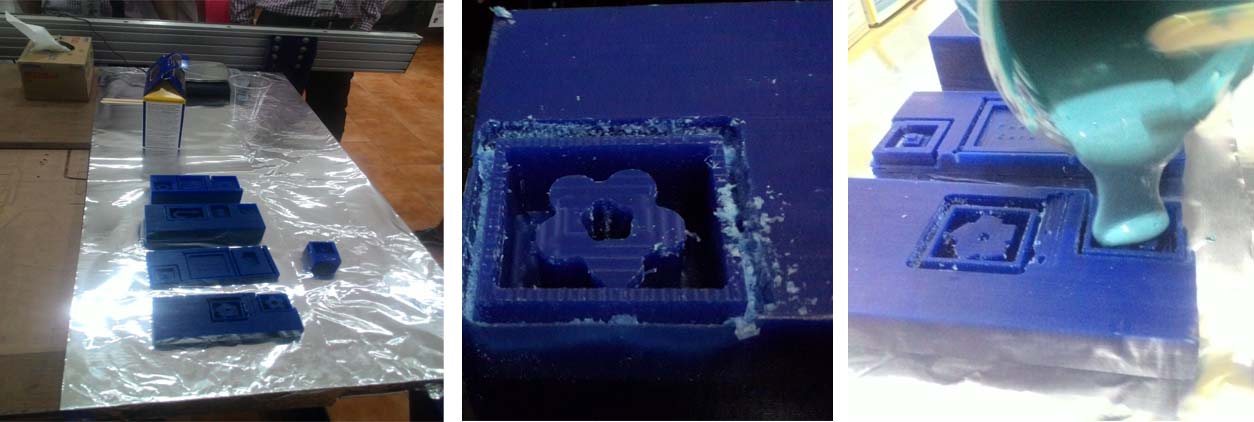
Pouring OOMOO 25 to my Wax Mould
.